Showing posts with label electronics manufacture. Show all posts

Sunday, January 13, 2019

Making PCB protos in Kenya

In Adelaide I made a lot of prototypes PCB's and filled up filing cabinets and shelves with them. Some had value to others and I sold them on Tindie and CrowdSupply. For the last year I have been hanging out in Kenya working at Lori. The output in terms of open-source hardware has taken a back seat compared to proprietary company code (we did release one open-source piece of ETL code).

This is near the end of my 3-month stint in Kenya and I decided to run an experiment in the feasibility of designing and assembling prototype batches of PCB's for an energy monitor ASIC I have been meaning to try out - the CS5490. This is a super low bar for a test run. The IC has very few dependent components and large pin pitch making it ideal of teaching manual SMD soldering.

PCB Design

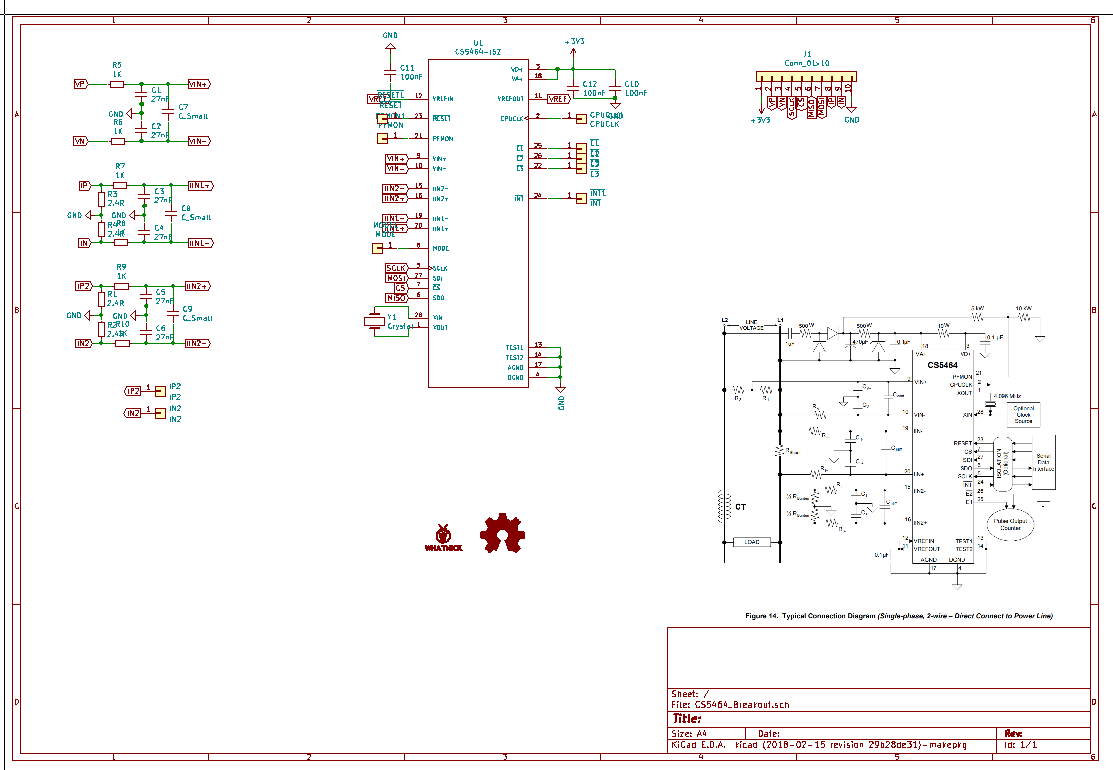
Once the goal was set I broke out KiCAD and spent a night and a Sunday churning out a basic breakout board. The PCB Design and BOM are published here.



Order PCB

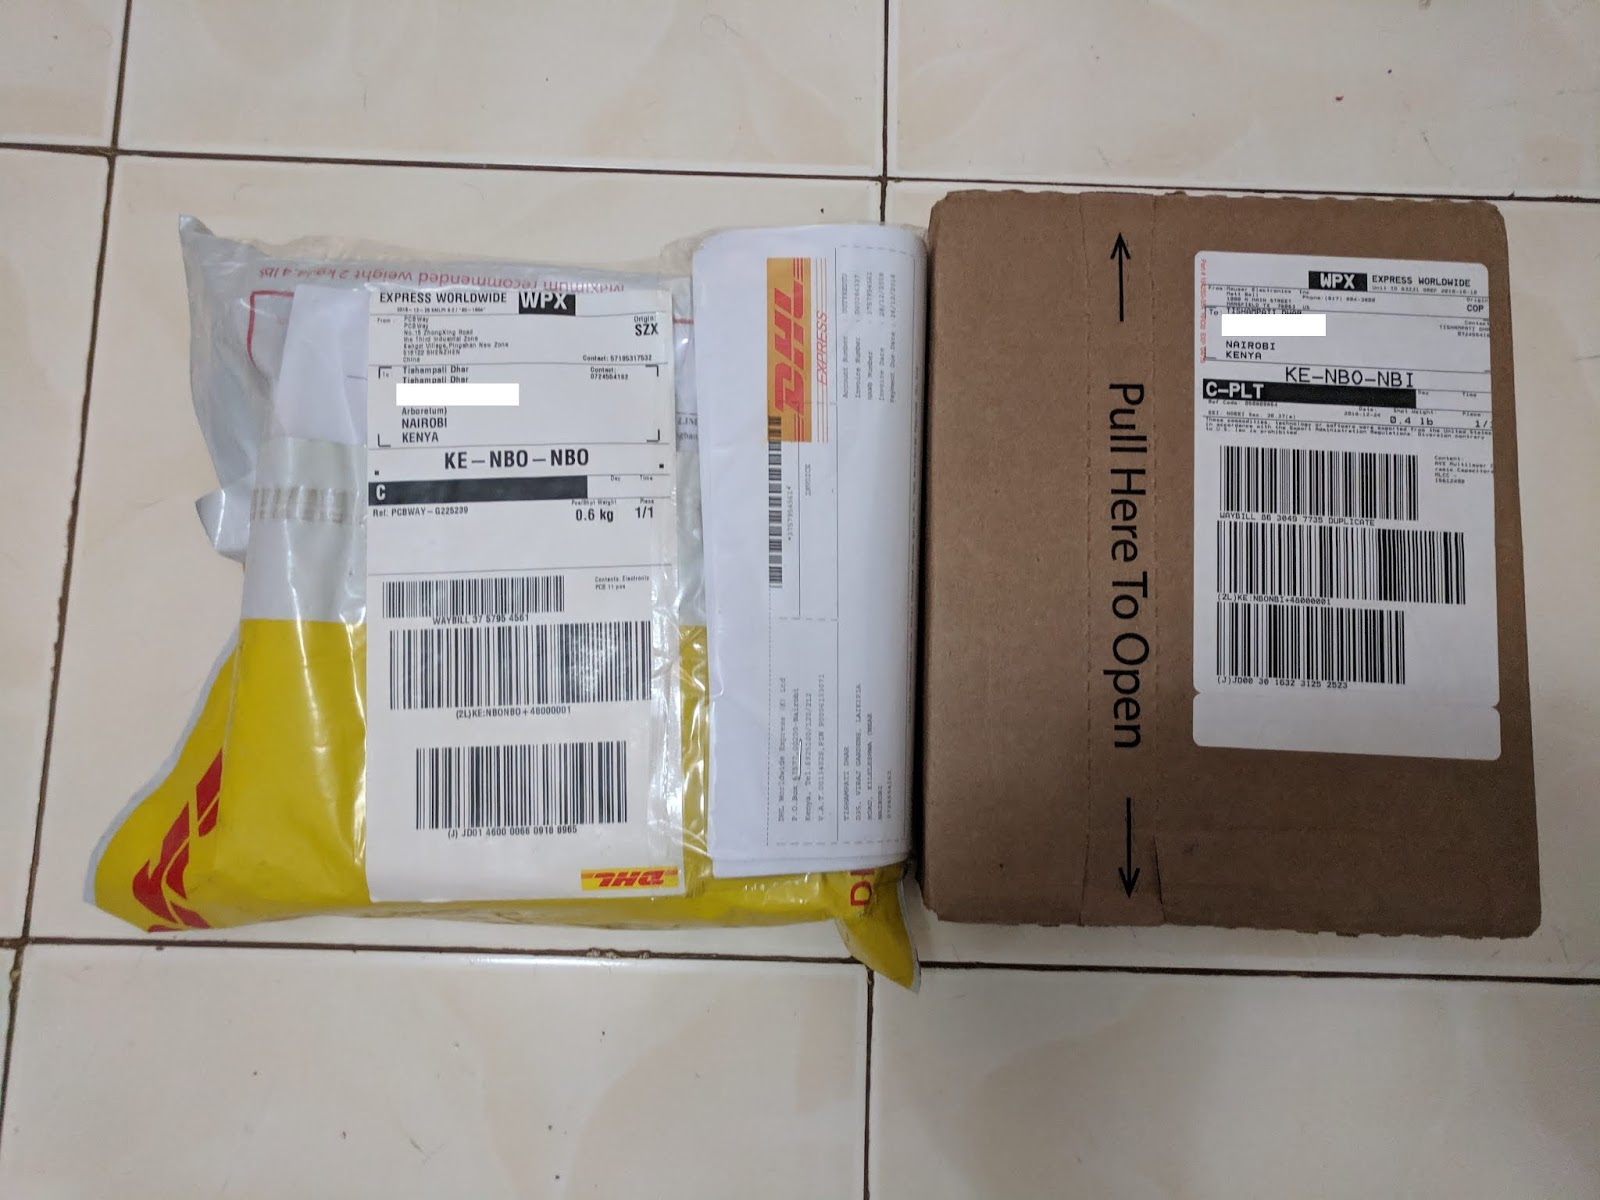
The harder part begins once the PCB design is done. Actually making this a physical reality in Kenya. I placed the usual order via PCBWay. A few days before Christmas before I went off to a round a country drive with some friends ( awesome content for another post). The shipping would be from Shenzhen via DHL. The logistics promises arrival by the 28th December.
Order Parts

The BOM for the design is not super complex either. Mouser covers the Kenya region. However there is no option for free DHL for orders over $60 which I get in Australia. I will be in Kenya only till the 20th January and the streets have no numbers or postcodes, which makes ordering via snail mail for any international shipping simply not fit the address template most places have. Perhaps global addressing via plus codes will become reality in future eCommerce systems. Mouser shipped the parts out of Texas immediately, I ended up paying more on shipping than for parts. The customs magic was yet to come.

Clear customs

Any packages with value below $1000 sail through customs in Australia. The Kenyan government will lose out on significant revenues if they followed this practice. On the flipside young engineers with limited resources are being stifled in self-driven learning and experimentation by this practice. I got a detailed/itemized bill from customs via DHL which ended up being the same cost as PCB + shipping for PCB's and around 20% of the cost of the parts. See file here for details and breakdown.


Source tools and materials

Thankfully this bit was much easier with a couple of local soldering iron , jumper wire and tweezers suppliers filling the gap. The ball was dropped by Fargo in delivering the stuff I ordered online again due to the addressing snafu, they attempted 5 deliveries to the wrong place before I had to redirect to the office address where a lot of parcels are received. I can recommend Nerokas and Ktechnics for getting parts in without hassle. Again better last mile logistics would have made things faster. I ended up attending the assembly meetup without the proper tools.

Find assembly space

To avoid annoying my landlord with solder fumes and messy paste workbench I started looking for a place to get together with a few interested parties and assemble the boards (at least one). I ended up starting an open-source hardware meetup and getting some Mang'u engineers together to hand solder the parts. 


Test and publish drivers


Finally this Sunday I have put together some basic micropython code to read registers from the CS5490 over serial and display them in a micropython notebook. Nothing production ready but proof that the PCB design and assembly worked as expected and we can achieve custom products here, with a lot of bureaucracy and false starts.

I am happy to meet more people designing and building open-source hardware in Nairobi and hear about their experience.



Sunday, November 18, 2018

TPLink Smart Plug Teardown

A while ago I remember watching a youtube video from about x10 years ago talking about distributed social network platforms running on SheevaPlugs. Fast forward 10 years, we are still in walled gardens of internet behemoths like Facebook, Twitter and Google and energy monitors are running full-linux os'es in smart plugs (albeit it is mostly OpenWRT/Lede)

The idea of re-purposing Atheros/Qualcomm router IC's as general purpose linux based controllers is not new. All those pins dedicated for ethernet ports are converted into GPIO's with proper muxing.

I have been designing one myself to fit in the DIN rail using the Onion Omega 2 as the host processor. There are some road-blocks regarding the simplex SPI bus on the Mediatek CPU.

TPLink seems to have gone the same route and built a smart-plug with and Atheros CPU. Again this blog post is meant to enrich the notes I already brain dumped on twitter.


This module is designed to be a wifi controlled relay with metering, switching upto 10A according to specs. It achieves this by using x2 5A relays in parallel. The main subsystems are:


  1. Power - Analog Devices/Linear Tech power AC-DC power IC. The footprint of this is an interesting variant of SOIC-8.
  2. Metering - This is done by the Maxim MAX71020A IC. Every electronics manufacturer worth its salt is creating metering ASIC's these days and I am excited about opportunities in making break-out boards and comparisons. TPLink seems to have bought up all the inventory of this particular Maxim IC and Maxim has a history of discontinuing low-margin lines the like MEMS accelerometers. I will keep an eye of the Poly-phase version which seems to be still in production (MAXQ3180). Overall this does not look good for the future of this particular smart-plug.
  3. Relays - x2 chunky 5v - 5A relays adorn the metering and CPU board. These provide the main functionality of the smart plug.
  4. Atheros/Qualcomm processor - This is the smarts in this smart-plug. Running standard open-wrt. The Maxim IC is of course on the SPI bus and other GPIO's are driving LED's , relays etc.
Overall the lack of supply of the Maxim IC does not bode well for the future of this Smart-plug. It may find fun alternative uses as an always on linux node.

Monday, November 2, 2015

Making MBed and Arduino compatible Xadow Modules (in Reflow Oven)

I have designed a long chain of Xadow modules by now, including right angled side chains. These include:
  1. Xadow SD (CD4050) - Which allows using upto 32GB Micro SD Card and good read/write speeds due to the driver IC.
  2. Xadow Serial (SC16IS750) - Which adds 1 UART and 8 GPIO ports, with jumpers to allow upto 4 modules in chain.
  3. Xadow MultiSerial (SC16IS752) - Which adds 2 UART's (theres is not enough space for the GPIO's)
  4. Xadow IO (PCA0539) - Which adds upto 16 GPIO ports using I2C
I have tried various suppliers to gather all the components, various PCB manufacturers as well as solder stencils from OSHStencils. Here is the breakdown of my experience so far in prototyping some very small single boards using SMD only components.
Chain of Xadow modules - GPS, Oled, 9-DOF IMU, Barometer, Dual-I2C Uart (Bluetooth), Xadow-M0, Xadow-SD (Left to Right)

PCB Manufacture:

DirtyPCB - They use SeeedStudio for manufacture and fulfilment, but get bulk discounts and I love the Gerber preview option, no extra charge black PCB's and option to get extra PCB's in a batch. I have got gold finished PCB's from them as well these look rather good.

SeeedStudio - My first test PCB's were made here.They also provide an assembly service and a library of commonly used parts. In most cases I have managed to get 80% of the PCB assembled in China with 20% hand soldered at home, mainly crystals and main IC's.

OSHPark - This is the made in the USA solution to Hobbyist PCB's. They produce PCB's in a signature purple colour, which I guess is a soldermask colour no serious industrial PCB maker wants. The ENIG finish PCB's look rather good. The preview function is also handy. However the DRU for checking PCB's is a bit strict in terms of clearance at the board edges, vias are not automatically tented and signals require greater separation leading to a low density PCB overall.

I am yet to try PCBPool and local Australian and New Zealand options, but they are beyond the budget of hobbyists. Once I start manufacturing my designs I shall surely give them a go. Local hackerspace recommended #hackvana and I had a great chat with them as well.

Component Sourcing:

AliExpress - Components are a bit hit and miss, had the wrong ones sent at one point. All the ones tested work.

EBay - Probably same sellers as AliExpress. Similar performance, no bad shipments so far.

Element14 - Next day delivery is amazing for quick prototyping. The part search system has improved a lot and they even have an Eagle library for most of the common parts.

Samples from TI, Maxim and ON Semi - Nothing is as good as free stuff delivered express. All parts are detailed with CAD models (albeit in .bxl).

Stencil:

OSHStencil - The holes are a bit too big, probably because I did not shrink the solder mask enough. Great otherwise.
Homecut - Cut on a Trotec laser Speedy 100 from Mylar and Kapton. The laser has a bi
t too much power, so pads need to be shrunk even more.

Overall it has been a great learning experience and I have probably spent more on research than I would have spent buying a hotshoe IMU like the solmeta off the shelf. However in the end the product does exactly what I would like it to do. Next step - find a suitable 3D printer on 3D Hubs and get an enclosure built, also complete the MBed code to make it all work.